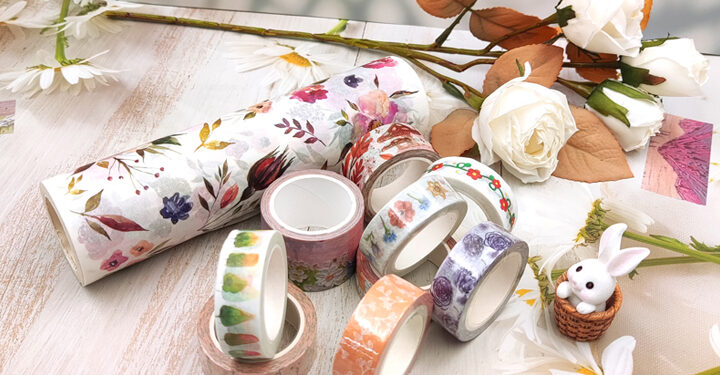
If you’re looking for a fun and easy DIY project that can also be a great gift idea, making custom acrylic keychain decorated with washi tape is a great option. These keychains are perfect for adding a personal touch to your keys, backpacks, or as a unique addition to your handmade jewelry collection. In this article, we will walk you through the steps to create your own custom acrylic keychains and decorate them with washi tape.
What is washi tape?
Custom washi tape is a decorative tape that is made of Japanese paper. It is known for its colorful and unique patterns and is widely used in arts and crafts projects. Washi tape is popular for its versatility and ease of use. It can be easily cut, torn, and repositioned, making it perfect for adding a personalized touch to any project.
Materials you will need:
- Acrylic blanks in desired shape and size
- Keychain rings
- Jump rings
- Washi tape in different colors and patterns
- Scissors
- Parchment paper
- Heat gun or oven
Step 1: Choose your acrylic blanks
The first step is to choose the acrylic blanks that you will be using for your keychains. Acrylic blanks come in a variety of shapes and sizes, so you can choose the one that best suits your design idea. You can find acrylic blanks online or at your local craft store. Some popular shapes for keychains include circles, squares, and rectangles.
Step 2: Add your design
Once you have chosen your acrylic blanks, it’s time to add your design. You can use a variety of methods to add your design, including vinyl, paint, or markers. For this tutorial, we will be using washi tape.
To add your design with washi tape, start by selecting the colors and patterns that you want to use. Then, cut small pieces of washi tape and place them onto the acrylic blank in a design of your choice. You can create stripes, polka dots, or any other pattern that you like. You can also layer different colors and patterns to create a unique look.
Step 3: Seal your design
Once you have added your design with washi tape, it’s important to seal it in place to prevent it from peeling or coming off. To do this, you will need a heat gun or an oven. If you are using a heat gun, place your acrylic blank onto a piece of parchment paper and hold the heat gun over the washi tape for a few seconds until the tape starts to melt and adhere to the acrylic blank. If you are using an oven, preheat it to 300°F, place your acrylic blank onto a baking sheet lined with parchment paper, and bake it for 5-7 minutes until the tape has melted and adhered to the acrylic blank.
Step 4: Add your keychain ring
Once your design is sealed in place, it’s time to add your keychain ring. To do this, you will need a jump ring and a pair of pliers. Open the jump ring by twisting it slightly, and thread it through the hole in the acrylic blank. Then, thread the keychain ring onto the jump ring and close it using the pliers.
Step 5: Enjoy your custom acrylic keychain
Congratulations, you have made your own custom acrylic keychain decorated with washi tape! Repeat these steps to create as many keychains as you like, each with a unique design. These keychains make great gifts for friends and family, or you can keep them for yourself as a fun and personalized accessory.


